Using Spotify Typescript SDK with Next.js 13
Table of Contents
Introduction
Spotify has recently launched the Typescript SDK - a powerful toolkit that gives developers access to all the functionality of the Spotify Web API. With this brand new SDK, developers can easily create a wide range of web applications using Spotify data. This means you can easily display Spotify data such as tracks, playlists, artists in your dream projects with less mess and headaches.
Background
My idea was to share what I’m listening to on Spotify. I also want to create a page that shows my favorite tracks and artists of the month. In order to accomplish all of this, I am going to use the Spotify Typescript SDK that Spotify has just launched. This SDK acts as a toolkit, making it easier for developers to interact with the Spotify Web API. In addition, the power of Typescript’s type safety further streamlines the development process.

Implementation
Create a Spotify Application
First, we’ll set up a Spotify application to collect the necessary credentials. This will allow us to access the Spotify API and retrieve the information we need.
- Go to Spotify Developer Dashboard and log in to your account.
- Click on Create app
- Fill out the forms and click Save. For example:
- App name: spotify-now-playing
- App description: Display currently playing song
- Website: (leave it empty)
- Redirect URI: http://localhost:3000
That’s it! Now that your Spotify application is properly configured, we’re ready to start sending requests to the Spotify API. Before we proceed, however, it’s important to authenticate our requests to ensure secure access.
Authentication
Authorization Code Flow Depending on your application, various authentication methods are available. For this tutorial, we’ll use the Authorization Code Flow, which involves obtaining a refresh token that only expires when access is revoked.
Step 1: Request Authorization Before you can access Spotify resources, you must request authorization for your application. Copy and paste this link into your browser to begin the process:
https://accounts.spotify.com/authorize?client_id=your_client_id&response_type=code&redirect_uri=http://localhost:3000&scope=user-read-currently-playing+user-top-read+user-read-recently-playedReplace your_client_id with your actual client ID, and be sure to adjust the scope to match the information that you need to access.
Step 2: Retrieve code parameter
After permission is granted, you’ll be redirected to your redirect_uri with a code parameter in the web address. Save this code for the next step.
http://localhost:3000/?code=AQAol...Da4SiStep 3: Obtaining the refresh token
You need to create a Base64-encoded string containing your client_id and client_secret to get your refresh token. Use this online tool to encode the string in the format client_id:client_secret. Then open your terminal and paste this:
curl -H "Authorization: Basic (base64 encoded client_id:client_secret)" -d grant_type=authorization_code -d code=(code) -d redirect_uri=http://localhost:3000 https://accounts.spotify.com/api/tokenMake sure you replace (base64 encoded client_id:client_secret) with the base64-encoded string you generated, and (code) with the authorization code you received earlier.
The above command will return a response in JSON format and should look like this:
{
  "access_token": "BQDoG...y6H8g",
  "token_type": "Bearer",
  "expires_in": 3600,
  "refresh_token": "AQBfU...JYKoA",
  "scope": "user-read-currently-playing user-read-recently-played user-top-read"
}
Step 4: Store Information
Store the information you get, especially the refresh_token, in your environment variables, which we will set up soon.
Setting up Environment Variables
Create an `.env.local’ file in the root directory of your project with these values:
SPOTIFY_CLIENT_ID=
SPOTIFY_CLIENT_SECRET=
SPOTIFY_REFRESH_TOKEN=
Request Access Token
Before we can retrieve any information from the API, we need something called an access_token. This token acts like a key that gives us permission to access certain data. Think of it as a pass to enter a secure area. In order to retrieve details such as our currently playing song, we must first obtain this access_token. We do this by using our client_id, client_secret, and refresh_token. Here is how I did it:
// lib/spotify.ts

import { AccessToken } from "@spotify/web-api-ts-sdk";

// Load environment variables
const client_id = process.env.SPOTIFY_CLIENT_ID as string;
const client_secret = process.env.SPOTIFY_CLIENT_SECRET as string;
const refresh_token = process.env.SPOTIFY_REFRESH_TOKEN as string;

// Create a base64-encoded string using client_id and client_secret
const basic = Buffer.from(`${client_id}:${client_secret}`).toString("base64");

const TOKEN_ENDPOINT = "https://accounts.spotify.com/api/token";

// Function to get a new access token using the refresh token
export const getAccessToken = async (): Promise<AccessToken> => {
  const response = await fetch(TOKEN_ENDPOINT, {
    method: "POST",
    headers: {
      Authorization: `Basic ${basic}`,
      "Content-Type": "application/x-www-form-urlencoded",
    },
    body: new URLSearchParams({
      grant_type: "refresh_token",
      refresh_token: refresh_token,
    }),
  });

  return response.json();
};
Creating Route Handlers
Route Handlers are equivalent to API Routes in Next.js with a `pages’ directory. These handlers play a crucial role in defining how your application interacts with external data sources, such as the Spotify API. They are responsible for making actual data requests and returning the information to your application components. If you are not familiar with this concept, please read the official Next.js documentation.
// app/api/currently-playing/route.ts

import { revalidatePath } from "next/cache";
import { NextRequest, NextResponse } from "next/server";
import { SimplifiedArtist, SpotifyApi, Track } from "@spotify/web-api-ts-sdk";
import { getAccessToken } from "@/lib/spotify";

export async function GET(request: NextRequest) {
  // Update cached data associated with the specified path using revalidatePath
  const path = request.nextUrl.searchParams.get("path") || "/";
  revalidatePath(path);

  const client_id = process.env.SPOTIFY_CLIENT_ID as string;
  const access_token = await getAccessToken();

  // Creating an instance of the SDK using withAccessToken method
  const spotify = SpotifyApi.withAccessToken(client_id, access_token);

  // Accessing getCurrentlyPlaying endpoint
  const song = await spotify.player.getCurrentlyPlayingTrack();

  if (song === null) {
    return NextResponse.json({ isPlaying: false });
  }

  // Getting the data
  const isPlaying = song.is_playing;
  const track = song.item as Track;
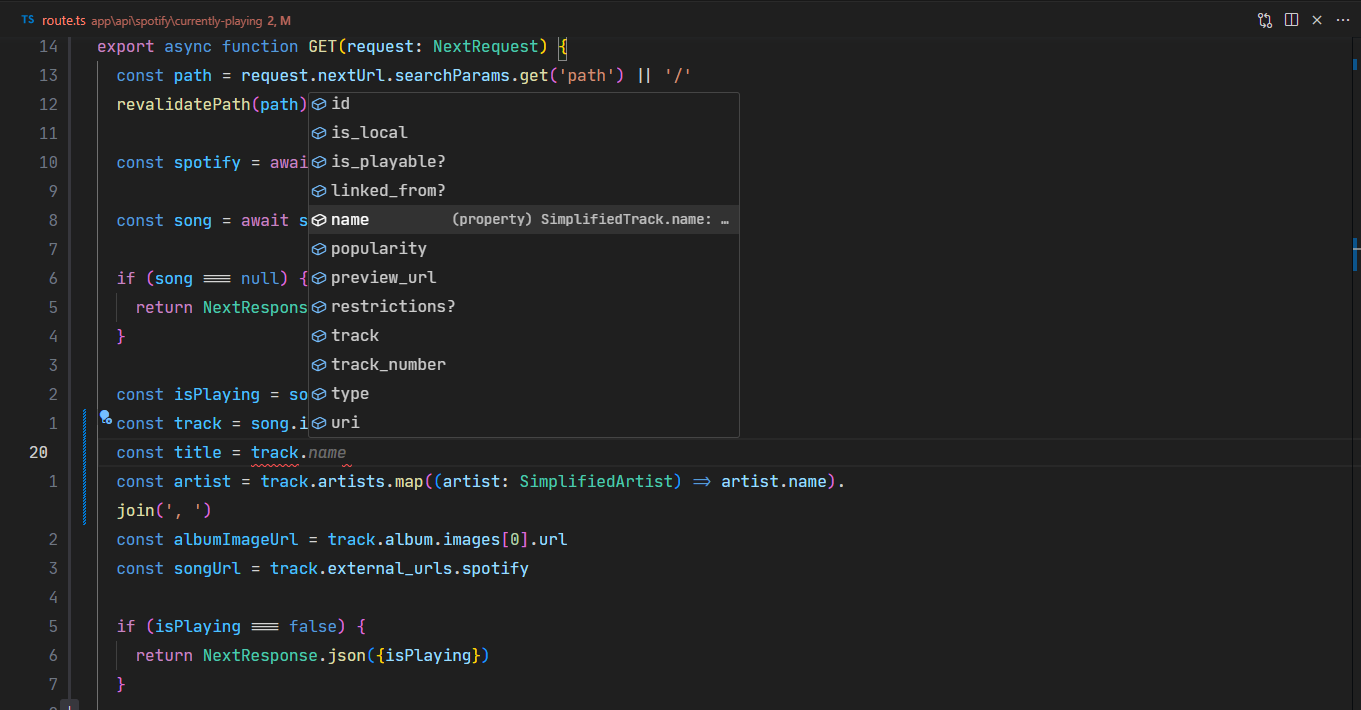
  const title = track.name;
  const artist = track.artists
    .map((artist: SimplifiedArtist) => artist.name)
    .join(", ");
  const albumImageUrl = track.album.images[0].url;
  const songUrl = track.external_urls.spotify;

  if (isPlaying === false) {
    return NextResponse.json({ isPlaying });
  }

  return NextResponse.json({
    isPlaying,
    title,
    artist,
    albumImageUrl,
    songUrl,
  });
}
Render the Data
Once you’ve retrieved the relevant data from the Spotify API, it’s time to integrate it with your client-side components. This step involves transforming the raw data into an user-friendly format and displaying it within your application. Here is an example:
// app/page.tsx

"use client";

import Image from "next/image";
import useSWR from "swr";
import { fetcher } from "@/lib/utils";
import Link from "next/link";

type Song = {
  title: string;
  artist: string;
  albumImageUrl: string;
  songUrl: string;
  isPlaying: boolean;
};

export default function Home() {
  const { data: currentSong } = useSWR<Song>(
    "/api/currently-playing",
    fetcher,
    {
      refreshInterval: 60000,
    }
  );

  return (
    <main className="min-h-screen flex items-center bg-slate-900 justify-center">
      {currentSong && currentSong.isPlaying ? (
        <section className="flex items-center border border-slate-800 rounded-sm p-1 min-w-[15rem]">
          <div className="flex flex-col items-center">
            <Image
              src={currentSong.albumImageUrl}
              width={128}
              height={128}
              alt={currentSong.title}
            />
          </div>
          <div className="flex flex-col items-start w-full justify-center px-4">
            <p className="font-semibold">{currentSong.title}</p>
            <p className="text-sm text-white/90">{currentSong.artist}</p>
          </div>
          <Link
            className="mr-3 border rounded-sm border-slate-700 p-1 text-xs"
            href={currentSong.songUrl}
            target="_blank"
          >
            Open
          </Link>
        </section>
      ) : (
        <div>Not playing</div>
      )}
    </main>
  );
}
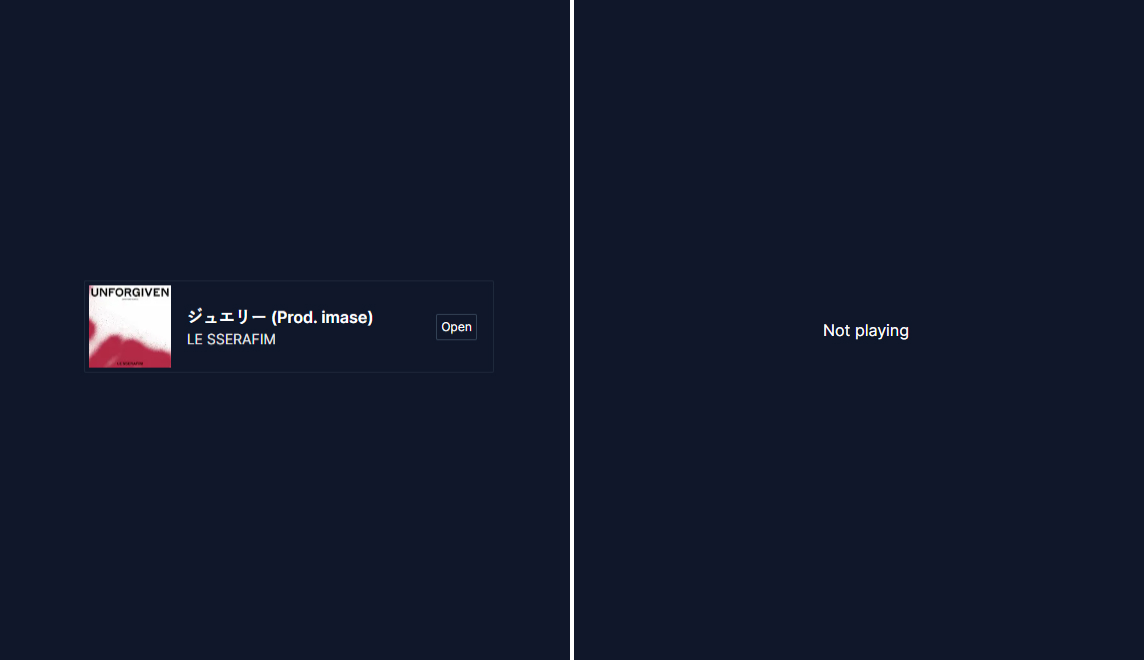
In the example above, we’re using the SWR library to create a dynamic component that fetches and displays data on a Next.js app. The code fetches information from the /api/currently-playing endpoint we created earlier. This endpoint provides details about the song that is currently playing.
The fetched song data is then conditionally rendered. If a song is currently playing, the song details will be displayed. If there’s no song playing, a message is displayed indicating that no song is playing.

Conclusion
In this blog post, we’ve walked you through the process of using the Spotify TypeScript SDK within Next.js 13. You’ve learned how to set up authentication, fetch the data, and dynamically display it in your app. You can have a look at the full code of this sample app on my Github.